


Salespage Snapshot:
Sample Content Preview
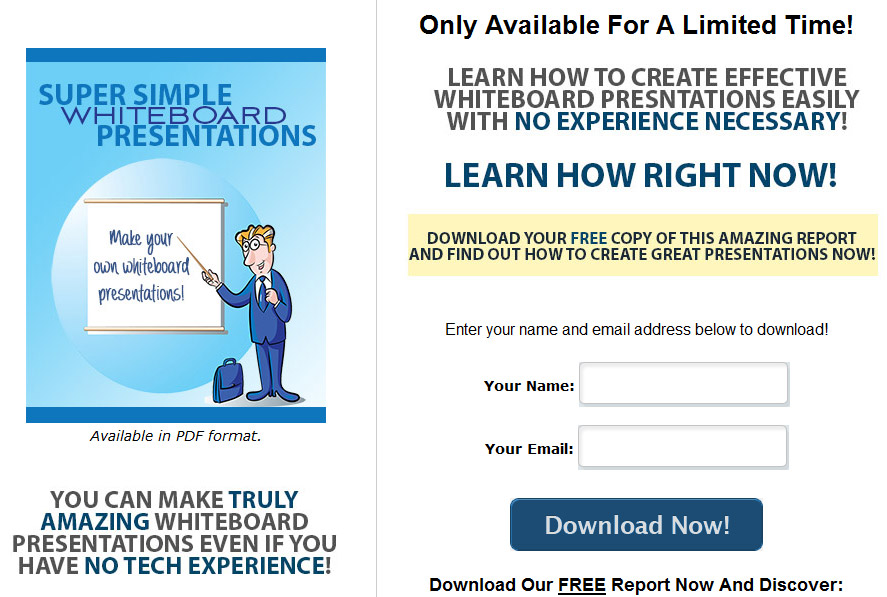
Super Simple Whiteboard Presentations
GoAnimate is one of the most popular whiteboard cartoon creation tools available. It’s extremely powerful, offering a wide range of built-in resources including backgrounds, characters, etc.
Making a presentation with GoAnimate is simple. Once you log in, simply click “Make a Video” on your dashboard:
There are several different themes to choose from, including a variety of cartoon styles and a Whiteboard Animation style, which is exclusive to the paid system.
There is a tutorial that will lead you through the process of getting started:
Super Simple Whiteboard Presentations
The tutorial outlines the basic process, which, for the whiteboard animation example, goes like this:
1. Choose a background.
2. Choose your characters.
3. Place and move your character.
4. Make the character act, using a wide variety of stock poses and animations.
5. Make the character speak using your own recorded voice or using the text-to-speech function that is built in.
6. Move to the next scene, as characters can only perform one action and speak one line per scene.
The process is very quick and easy, and their step-by-step tutorial makes it ridiculously simple to get your first animation created in no time flat, even if you have no clue what you’re doing when you start.
They currently have two pricing levels for professional videos, including a third tier for companies that need to purchase three or more subscriptions at once.
There is a $39 per month or $299 per year tier that offers export resolution up to 720p and offers all features except clickable links, removing watermarks and transferring commercial rights. This one is called “GOPUBLISH”.
The “GOPREMIUM” tier is $79 per month or $599 per year and offers all features, including video up to 1080p, clickable links, removing watermarks and transferring commercial rights.
PowToon
>> http://www.PowToon.com
PowToon is quite similar in many ways to GoAnimate, but with a few key differences.
Once you log into your account, you’ll be presented with a popup window asking you what type of project you’d like to create:
Once you select one, for example “Promotional Video”, you may be presented with another range of options, such as templates:
Next, you’ll be asked for a title and description:
While you wait for the PowToon interface to load, you will be presented with a quick video tutorial that shows you a little bit about how PowToon works. You can watch this video or just click the “Close” button at the bottom to proceed.
In the center of the screen you will see your current presentation. On the left is each scene in your movie, and you can add transitions from scene to scene. At the top is the main menu with basic functions such as copy/paste, save, and adding sounds and images.
On the right is a section to add elements such as characters, props and shapes, and on the bottom you’ll find buttons to play your animation.
PowToon has considerably cheaper pricing than GoAnimate, but their templates aren’t quite as varied.
VideoScribe
>> http://www.videoscribe.co/
VideoScribe from Sparkol is a simple solution for creating stop motion style animations using drawn text and graphics. A stock hand wielding a Sharpie marker is animated to draw or write whatever you add to your presentation, and other animation effects are also available. You can even add photos of your own hands wielding whatever instruments you’d like to use.
Super Simple Whiteboard Presentations
You can see some samples here:
>> http://www.sparkol.com/home
Sparkol has a great set of tutorials set up on YouTube as a playlist. You can see this playlist here to learn more about the Sparkol interface and how to use it:
>> https://www.youtube.com/playlist?list=PL941uNyvzPSFVX7Turb-DCTikB4FwLL55
Pricing is very competitive, and is less expensive than GoAnimate. They even have a lifetime option that makes it even more cost effective.
Tips for Better Whiteboard Presentations
Here are some helpful tips to make it easier to create effective and entertaining whiteboard videos. Some of these tips apply to taking head videos, and others apply to screencast style videos, but many will apply to both.
• Use Great Lighting – Don’t attempt to film a whiteboard video in a dimly-lit room. Use quality lighting to ensure the subject and whiteboard are clearly visible, and make sure the lighting isn’t casting any glares that might hurt viewers’ eyes or cause bright spots where the whiteboard is not visible.
• Don’t Block the Whiteboard – Too many people create whiteboard presentations and then stand directly in front of the board for the majority of the presentation, making it difficult for viewers to see what’s going on. As you film your presentation, stand to the side of the area in which you’re currently drawing/writing to allow viewers to watch as you’re doing it. No one wants to see three minutes of the back of your head while waiting to see what you’ve written or drawn.
Super Simple Whiteboard Presentations
• Use Sound – Sound is a critical element in whiteboard presentations, because it makes them less dull. A video that has no sound at all will often make the viewer question whether or not something is wrong with their sound device. Narration, or a combination of narration and music, is ideal, but even a great music clip that matches the feel of your presentation will make a difference. If you are afraid to narrate your own video because you hate your voice, have a thick accent, you’re using a pseudonym in your business, or another reason, you can hire someone off of a freelance site or Fiverr to narrate for you. Just provide a script, and then create the video based on their narration.
• Use Quality Equipment – Make sure you’re using the best camera and microphone possible. If the sound or video quality is poor, the viewer’s experience will be poor.
• Don’t Talk Down to the Audience – While it’s important to assume that viewers won’t have a complex grasp of your subject in order to make sure you explain things well enough for beginners, never talk down to your audience by saying things such as “you probably won’t understand this, but…” or “this is a really complex subject that I won’t get into…”. Just explain things thoroughly and never state that you think people wouldn’t understand something or accidentally insult their intelligence.
• Don’t Focus Purely on Data – If you focus on data such as statistics, facts and figures, your presentation will be boring. Include some interesting information, too, rather than making a stuffy piece that will put people to sleep.
• Use a Graphics Tablet – If you’re using a screencast program to create your whiteboard presentation, consider using a graphics tablet instead of a mouse or trackpad to draw and write. A simple graphics tablet is only around $50 to $100, and if you intend to do more than a handful of videos will really make a difference. You can also buy an older model on eBay for very little money. A graphics tablet will make your drawings and writing look much more fluid, natural and legible.
• Plan Carefully – It’s a good idea to plan your presentation thoroughly before you begin. You don’t want to have a lot of pauses while you think of what to say next. This will bore your audience and potentially even make them doubt your credibility. Plan your presentation step-by-step before you start filming, and perhaps even do a few run-throughs before you actually film.
• Study Other Presentations – View a number of different whiteboard presentations in a genre similar to yours in order to find out what makes them successful. Take note of what you like and don’t like about each one as you watch, and make sure to keep those things in mind as you create your own.
• Don’t Include Too Much – It’s a common mistake to want to include too much in your presentation. After all, more is better, right? Not always. In the case of a presentation, it should be concise, succinct, and include only as much pertinent information as it necessary to deliver your message. Including more information will only confuse and/or bore your audience.
Other Details- 1 Ebook (PDF, DOC), 20 Pages
- 7 Part Autoresponder Email Messages (TXT)
- 1 Squeeze Page (HTML, PSD)
- File Size: 13,616 KB
You May Also Like...

The Secret To Growing Your Business Fast PLR Ebook
Product Price: $5.95
Virtual Vibes: Running A Successful Virtual Assistant ...
Product Price: $24.95
Best Seller PLR Ebook
Product Price: $5.95
Understanding And Supporting Customers: A Look Inside ...
Product Price: $19.95
Productivity Without Pain: Get More Productive While ...
Product Price: $24.95
Breaking into Showbiz: The Complete Guide to Finding ...
Product Price: $19.95

