


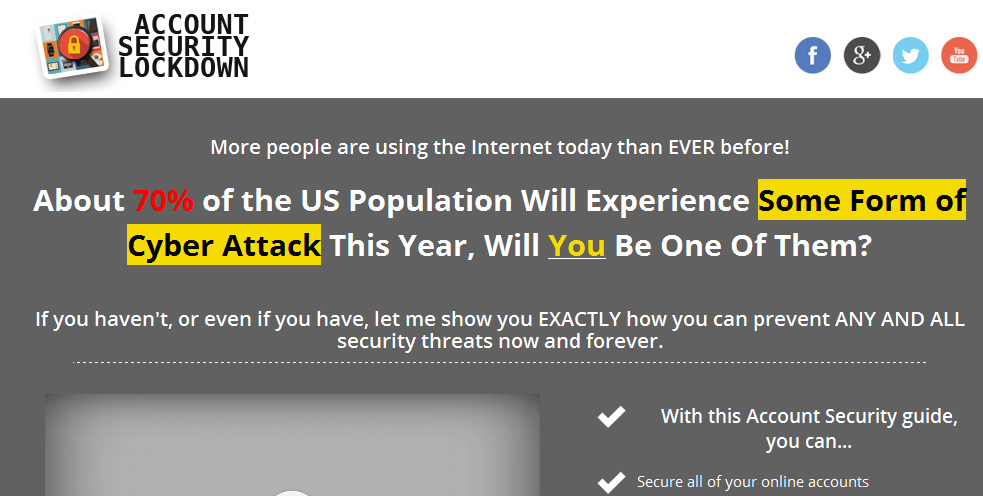
Salespage Snapshot:
Sample Content Preview
In line 301, you will see “cheatsheet.pdf” and we have already packaged and linked the cheatsheet file for you, but if you’ve made any changes to the cheat sheet file yourself – you can replace the cheatsheet.pdf we’ve included. On line 309, we’ve linked to the JPG of the mind map from the main front end PLR package. You can choose to replace this JPG image or leave as is. On line 317, you can see that we’ve set up a way for you to give your customers the change to “sign up for updates” by opting in to your list. In order to add your opt in form to integrate with line 317, you simply need to search for the text “<-- Form Code Goes Here -->” which can be found on Line 381 (towards the bottom of the index.html file). You want to just paste in the HTML EMBED CODE version of your optin form code that’s provided by your autoresponder service.
After you’re satisfied with any and all of the changes, and everything works (links are all active, etc.) – you just need to save the index.html file, and upload the contents of the “Module 4 – Learning Center” folder to your web host, preferably in a folder that’s cleverly named to prevent people from digging it up and gaining access to the video courses without paying first. When you’ve completed editing the learning center and you’ve uploaded it to your web host in the necessary location, you can move on to the next step of this guide.
Make sure that you remember the URL for the folder you placed the learning center into, so that you can link your customers to that location after they make their purchase.
**You can use any document editor to modify the .doc file for the e-book and or the cheat sheet as well.
Step 2: Packaging The Product Up
Instructions:
If you’re unfamiliar with how to create a file archive (ZIP or RAR archive) then you need to visit this link and return when you’re familiar with it: http://www.wikihow.com/Make-a-Zip-File
The process is similar for any operating system. Just Google how to create a compressed archive.
If you aren’t making any changes to any aspect or branding of the product, then you don’t have to do anything and you can just skip this entire step and move on to the next step.
In the event that you’ve made changes to the product, and once you’re familiar with creating an archive, you need to select the main training course as well as any of the resources and other assets you’re including. After you’ve selected all of the folders and any other files – you want to create the compressed “ZIP” archive file containing those files. After you’ve completed the process of creating the archive, make sure it’s in the same folder as the provided “Upsell Sales Page” for this PLR package. Or at least in the same folder as where you’ll be linking to it on your web host.
At this point, you want to make sure that you include this ZIP archive in the same folder as you’ll be serving the file to for the people that purchase this package from you. So remember the name and the location you upload it to. **You can use 7Zip for creating compressed archives. It’s FREE!
Step 3: Editing The Upsell Sales Page
Instructions:
The only thing you have to do to the sales page is add your buy button or buy button (purchase) URL to the marked section, change the “%%YourName% %” section to your name or company, add your social media links to the page, and then make sure the support and legal pages point to the right URL. Editing the page can be done with any text editor. We recommend using Notepad++ (it’s FREE and awesome) to do this. But you can use any plain old text editor to modify a web page.
First off, you want to open the “index.html” file in the “Module 6 – Upsell Sales Page” folder with your desired text or markup editor.
Search for the following text:
%%YourName%%
And replace that text with the name of your company or the name of your domain for this sales page.
Next, you’ll want to make sure that the links in the footer point to the right pages which you’ll upload to your web host. By default, they will link to the legal pages and support pages (which will be explained later) provided in the package, all you need to do is put them in the right directory.
To edit these lines, you can find the according “links” for each page, between lines 446 and 476 in the “index.html” file.
After that, you can look between lines 33 and 41 and then 50 and 59, you will see text on different lines such as “images/fb.png” and “images/twitter.png”, to the left of that text, you should see something like the following…
href=”#”
You will want to replace the # with the URL for your corresponding social network pages.
Make sure that you do it for both sections of the lines (33-41 and 50-59) as one is set up for a different width of the page, and in order for them to show up properly, you need to fill out both sections.
Now, you want to save the “index.html” file and move on to adding your buy button / purchase URL to the page.
Adding Your Buy Button Code:
To add your buy button to the sales page, search for the following text: yourbuybuttonurlhere
And then replace that text with destination / payment URL for your buy button. A simple copy and paste is all that it takes to complete this part. You should use the buy button that we’ve provided. However, if you want to add your own JVZoo buy button (or other buy button) then search for the following text:  And then replace that entire bit of text with the entire embed / buy button code provided by JVZoo or the provider of the buy button. Once you’re completed, you just have to save the “index.html” file. **Notepad++ is an amazing markup editor that’s completely 100% free. Step 4: Preparing The Hybrid Thank You Page
- 1 Ebook (PDF), 16 Pages
- 24 Audios (MP3)
- 24 Videos (MP4)
- 20 Graphics (PNG)
- 2 Salespages (HTML)
- 20 Ecovers (PNG)
- 12 Promotional Ad Materials (Banners)
- 3 Keywords List (TXT, EXCEL, PDF)
- Viral Quote Images, Social Media Cover, Social Media, Legal Page, Sales Video, Resell Rights Swipes, JV Affiliate Center, Learning Center
- Year Released/Circulated: 2016
- File Size: 574,849 KB
License Details:
1. You CANNOT put your name or pen name on the product as the creator.
2. You CANNOT edit the contents of the product in any way
3. You CANNOT change the title and sub-title of the product.
4. You can sell the product (E-Book) in PDF format.
5. You are granted the master resell rights, resell rights or to resell with personal use rights. Nothing else.
6. You CANNOT offer private label rights to this product. You are granted only the Master Resell Rights.
7. You can add the product into a membership site (paid only).
8. You can add the product into your product bundle or package and sell for a higher face value.
9. You can offer the Basic Resell Rights to the PDF EBook.
10. You can produce audio and/or video content from the materials found in this product.
11. You CANNOT give the product away for FREE, under any circumstances or situations at all. Must be SOLD.
12. You CAN offer the product as a bonus to another product you are selling. Or as a bonus when people purchase through your affiliate link.
13. You CANNOT sell the product on auction sites such as eBay.com.
14. You CANNOT use sell product in a dime sale event, under any circumstances or situations at all.
15. You CANNOT sell this product as a WSO, under any circumstances or situations at all. Selling The Private Label Rights (PDF Format)
You May Also Like...

Color Tips Resale Rights Ebook
Product Price: $5.95
Resell Rights Unleashed Mrr Ebook
Product Price: $5.95
The Growth Mindset MRR Ebook
Product Price: $6.95
Sales Funnel Supremacy MRR Ebook
Product Price: $6.95
Niche Video Empires MRR Ebook
Product Price: $5.95
Cut Out Negativity MRR Ebook
Product Price: $5.95

